The Delta Dispatch

Quick Response, Confident Action: Canadian Red Cross Basic Life Support Field Guide

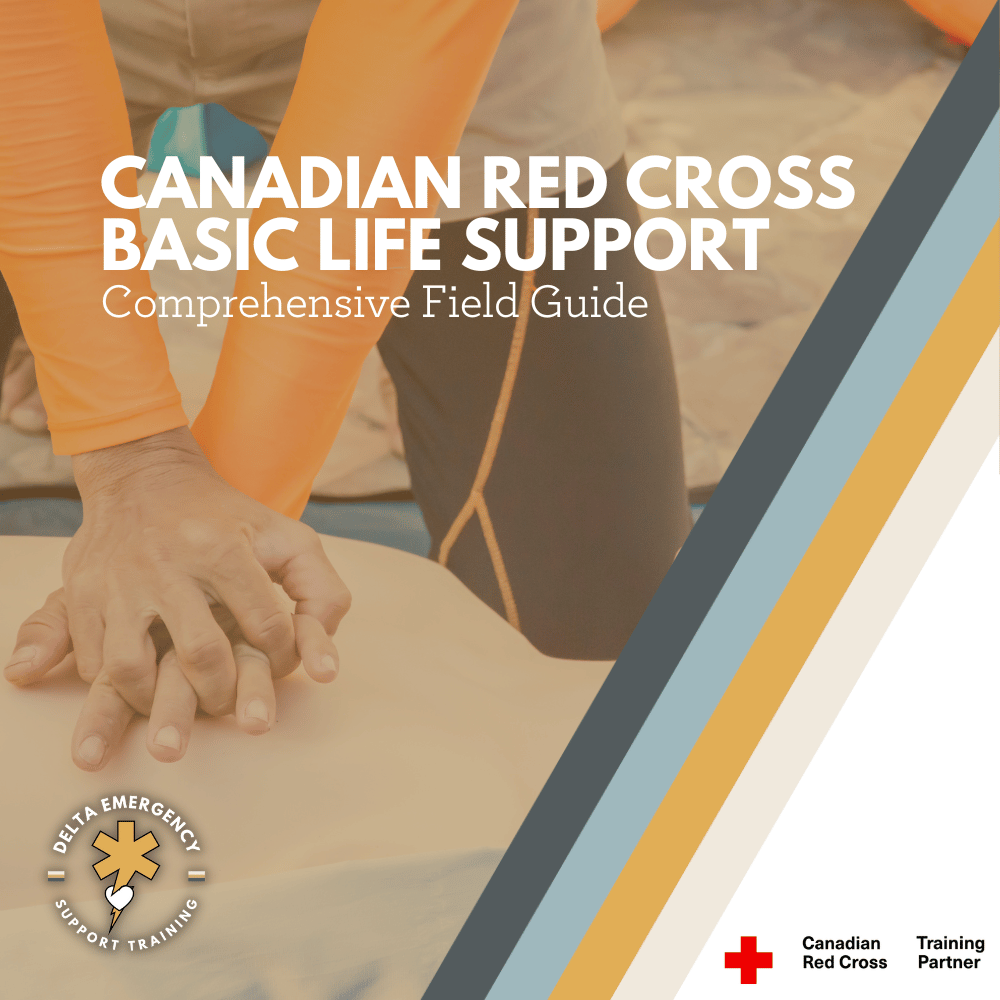
The "Canadian Red Cross: Basic Life Support Field Guide" is an essential tool for anyone trained in Basic Life Support (BLS). Designed for quick reference, this compact guide provides actionable steps for CPR, choking management, and AED use, ensuring you’re ready to respond in high-pressure situations. With clear illustrations and practical examples, this guide is a must-have for healthcare professionals and anyone certified in BLS.

A Lifesaver in Your Pocket: Essential for Every Responder

In the critical moments of a medical emergency, every second counts. The "Canadian Red Cross: Basic Life Support Field Guide" is an essential resource for anyone certified in Basic Life Support (BLS), from healthcare professionals to lay responders. This compact, easy-to-use guide is designed to be a quick reference in high-pressure situations, ensuring that the fundamental skills of life support are always within reach.

Tailored for Quick Reference and Rapid Recall

This field guide distills complex CPR techniques and emergency responses into concise, actionable steps. It's structured to help you quickly refresh your memory on essential procedures, including:

  • High-quality chest compressions

  • Ventilation skills

  • Management of choking for adults, children, and infants

  • Use of automated external defibrillators (AEDs)

Each section of the guide is accompanied by clear, instructive illustrations that enhance understanding and recall, making it easier to apply the techniques in real-life scenarios.

A Must-Have for a Wide Range of Responders

Whether you're a nurse on the front lines, a paramedic in the field, or a designated first aid provider at your workplace, this guide is made for you. Its comprehensive coverage makes it invaluable not only for professional use but also for anyone trained in BLS who might need to act swiftly to save a life.

Enhancing Skills with Reliable Information

The Basic Life Support Field Guide is more than just a manual; it's a training companion that reinforces your skills through:

  • Scenario-based practice examples

  • Step-by-step guides for both expected and unexpected situations

  • Quick tips for maintaining composure and efficiency in emergency situations

Why Physical Copies Matter

In emergency situations, technology can fail. A physical guide ensures that the information you need is available without concern for battery life, signal, or functionality. Its durable design means it can withstand the rigors of any environment, from a hospital ward to an outdoor adventure.

Conclusion

Ready to enhance your readiness and confidence in critical situations? The Canadian Red Cross Basic Life Support Field Guide is available now at Delta Emergency Support Training. Equip yourself with the knowledge and skills that make a difference when it matters most. Visit Delta Emergency Support Training to get your copy today and stay prepared for any emergency with the best CPR techniques, emergency response tips, and life-saving skills at your fingertips.

Read More

Firefighter Training: OPA's and NPA's for Airway Management

Nasopharyngeal airways (NPA) and oropharyngeal airways (OPA) are commonly used in healthcare settings to maintain a patient's airway and assist with breathing.When used correctly, NPAs can help clients who may be experiencing respiratory distress during certain treatments. However, it's important to have the necessary knowledge and protocols in place to safely insert and monitor the device. At Delta Emergency Support Training, we can help you learn how to safely use NPAs in spa settings and beyond. Our training sessions include a range of courses, including Standard First Aid (SFA), Advanced First Aid (AFA), and Emergency Medical Responder (EMR), and we offer in-person, hybrid, and online options to suit different needs. Contact us at info@deltaemergency.com to learn more about our training sessions and how we can help you develop the skills and knowledge you need to respond to emergency situations effectively.

As a firefighter, you need to be prepared to respond to emergency situations, including those involving airway management for an unconscious patients airway. Two commonly used tools for airway management are oropharyngeal airways (OPA's) and nasopharyngeal airways (NPA's). Today we'll discuss what these devices are, why they are used, and how to properly insert them as a first responder.

Four colour coded Oropharyngeal airways lay across a medical sheet.

What are OPA's and NPA's?

Oropharyngeal airways (OPA's) and nasopharyngeal airways (NPA's) are medical devices used to keep an airway open in patients who can’t secure it themselves. They are used when the patient is unable to maintain their own airway due to injury, illness, or drug overdose and become unconscious. OPA's and NPA's are both designed to be inserted into the patient's airway to help keep it open.

An OPA is a curved plastic device that is inserted into the patient's mouth and extends into the pharynx. It helps to prevent the tongue from obstructing the airway and allows air to pass freely into the lungs. OPA's are available in different sizes to accommodate patients of different ages and sizes.

An NPA is a flexible, hollow tube that is inserted into the patient's nostril and extends into the nasopharynx. It helps to keep the airway open and can be used in patients who are unable to tolerate an OPA due to gag reflex or other reasons.

Why do we use OPA's and NPA's?

The primary reason for using OPA's and NPA's is to maintain a patient's airway and ensure that they are able to breathe. When a patient's airway is obstructed, it can quickly lead to hypoxia, which is a dangerous condition where the body's tissues do not receive enough oxygen. OPA's and NPA's are used to prevent this from happening by keeping the airway open and allowing oxygen to flow freely into the lungs.

Testing for LOC (Level Of Consciousness)

Before inserting an OPA, it is important to assess the patient's level of consciousness. The AVPU scale is a simple and quick method for assessing a patient's level of consciousness based on their response to stimuli. The scale has four categories:

  • A: Alert

  • V: Verbal response

  • P: Pain response

  • U: Unresponsive

To use the AVPU scale, a healthcare provider would first try to get the patient's attention by speaking to them in a normal tone of voice. If the patient responds appropriately, they would be classified as "A" for alert. If the patient responds to verbal stimuli but is not fully alert, they would be classified as "V" for verbal response. If the patient only responds to painful/physical stimuli, such as a trap squeeze or nail bed pressure, they would be classified as "P" for pain/physical response. If the patient does not respond to any stimuli, they would be classified as "U" for unresponsive.

If a patient is assessed as being unresponsive or only responding to painful stimuli, an OPA may need to be inserted to maintain their airway. However, if the patient is alert or responding to verbal stimuli, an OPA may not be necessary.

How to insert OPA's and NPA's as a first responder

Proper insertion of OPA's and NPA's is crucial to their effectiveness and patient safety. Here are some general steps for inserting OPA's and NPA's:

Inserting an OPA:

  1. Choose the appropriate size OPA for the patient based on their age and size. Measure from the corner of the mouth to the angle of the jaw.

  2. Position the patient's head in a neutral position.

  3. Open the patient's mouth using the cross finger technique.

  4. Insert the OPA into the patient's mouth, with the curved end facing the roof of the mouth.

  5. Gently rotate the device 180 degrees as you insert it, until it is in a anatomical position.

Inserting an NPA:

  1. Choose the appropriate size NPA for the patient based on their age and size by measuring the tip of the nose to the corner of the jaw.

  2. Lubricate the NPA with a water-soluble lubricant.

  3. Position the patient's head in a neutral position.

  4. Insert the NPA into the patient's nostril starting with the right nostril. Bevelled edge facing the septum.

  5. Gently advance the device until it reaches the back of the nasopharynx

At Delta Emergency Support Training, we understand the importance of being prepared for medical emergencies. We offer a range of training sessions to help individuals and classes develop the skills and knowledge they need to respond to emergency situations. Our courses include Standard First Aid (SFA), Advanced First Aid (AFA), and Emergency Medical Responder (EMR), and we offer in-person, hybrid, and online options to suit different needs.

If you have any questions about our training sessions or medical emergencies in general, please don't hesitate to reach out to us. You can contact us at info@deltaemergency.com and we'll be happy to assist you.

Read More