The Delta Dispatch

How the Heart Works: A Detailed Look at Cardiac Anatomy and Physiology

The human heart is a powerful, muscular organ central to the circulatory system, responsible for delivering oxygen and nutrients to tissues while removing waste. About the size of a clenched fist, it operates through a coordinated series of electrical and mechanical events that keep blood flowing efficiently throughout the body.

For Emergency Medical Responders (EMRs), a foundational understanding of cardiac anatomy and physiology is essential. The heart has four chambers (two atria and two ventricles), four valves that ensure one-way blood flow, and a conduction system that generates and coordinates each heartbeat. These components work together in two circulatory loops—pulmonary and systemic—to maintain oxygenation and perfusion.

Recognizing early signs of cardiac distress, using tools like ECGs, and performing interventions such as CPR or AED use all depend on a clear understanding of how the heart functions. From arrhythmias to cardiac arrest, EMRs are often the first line of defense in identifying and managing life-threatening cardiac conditions.

The human heart is a muscular organ that lies at the core of the circulatory system. Roughly the size of a clenched fist, it’s responsible for pumping blood throughout the body, supplying oxygen and nutrients while removing carbon dioxide and metabolic waste. For emergency medical responders (EMRs), understanding the anatomy and physiology of the heart is essential for recognizing life-threatening conditions and initiating appropriate interventions.

🫀 Anatomy of the Heart: A Chambered Pump

The heart is divided into four chambers — two upper atria and two lower ventricles.

1. Right Atrium

This chamber receives deoxygenated blood from the body through the superior and inferior vena cava. It acts as a holding tank before pushing the blood through the tricuspid valve into the right ventricle.

2. Right Ventricle

The right ventricle pumps deoxygenated blood through the pulmonary valve into the pulmonary arteries and onward to the lungs, where gas exchange occurs (oxygen in, carbon dioxide out).

3. Left Atrium

After oxygenation in the lungs, blood returns to the heart via the pulmonary veins, entering the left atrium. It then moves through the mitral (bicuspid) valve into the left ventricle.

4. Left Ventricle

The left ventricle is the strongest chamber, as it must pump oxygen-rich blood to the entire body via the aortic valveand aorta. Its thick muscular wall is adapted for high-pressure output.

🧩 The Valves: One-Way Gates of Flow

Valves maintain unidirectional blood flow, preventing backflow and ensuring efficient circulation.

  • Tricuspid valve: Between right atrium and right ventricle.

  • Pulmonary valve: Between right ventricle and pulmonary artery.

  • Mitral (bicuspid) valve: Between left atrium and left ventricle.

  • Aortic valve: Between left ventricle and aorta.

These valves open and close in response to pressure changes within the heart chambers.

🔄 The Cardiac Cycle: How the Heart Beats

Each heartbeat consists of two phases:

  • Systole: Contraction phase — ventricles contract, pushing blood out.

  • Diastole: Relaxation phase — heart fills with blood from the atria.

The cardiac conduction system coordinates this rhythm:

  1. Sinoatrial (SA) node: The “natural pacemaker” that initiates electrical impulses.

  2. Atrioventricular (AV) node: Delays the signal slightly to allow the atria to fully contract.

  3. Bundle of His and Purkinje fibers: Distribute the impulse through the ventricles, causing contraction.

This electrical activity is what we see on an ECG (electrocardiogram), often used in the field to assess heart rhythm and function.

🫁 Heart and Lungs: Partners in Circulation

The heart and lungs work in a dual circuit:

  • Pulmonary circulation (right heart): Sends blood to the lungs to pick up oxygen.

  • Systemic circulation (left heart): Sends oxygenated blood to tissues throughout the body.

A disruption in either circuit — like a pulmonary embolism, heart failure, or myocardial infarction — can be life-threatening and requires prompt assessment and care.

🚑 Why This Matters for EMRs

For EMRs and other frontline providers:

  • Recognizing signs of poor perfusion (e.g., pale skin, weak pulses, altered mental status) relies on understanding heart function.

  • Administering oxygen, performing CPR, or using an AED involves direct intervention in cardiac physiology.

  • Conditions like shock, arrhythmias, and cardiac arrest are rooted in cardiac anatomy and function.

A firm grasp of how the heart works can help EMRs make informed, confident decisions in critical situations.

✅ Key Takeaways

  • The heart has four chambers: right and left atria, and right and left ventricles.

  • Four valves control one-way blood flow: tricuspid, pulmonary, mitral, and aortic.

  • The cardiac cycle consists of systole (contraction) and diastole (filling).

  • Electrical impulses coordinate heartbeats and can be monitored via ECG.

  • EMRs must recognize cardiac signs and symptoms to respond effectively in emergencies.

Read More

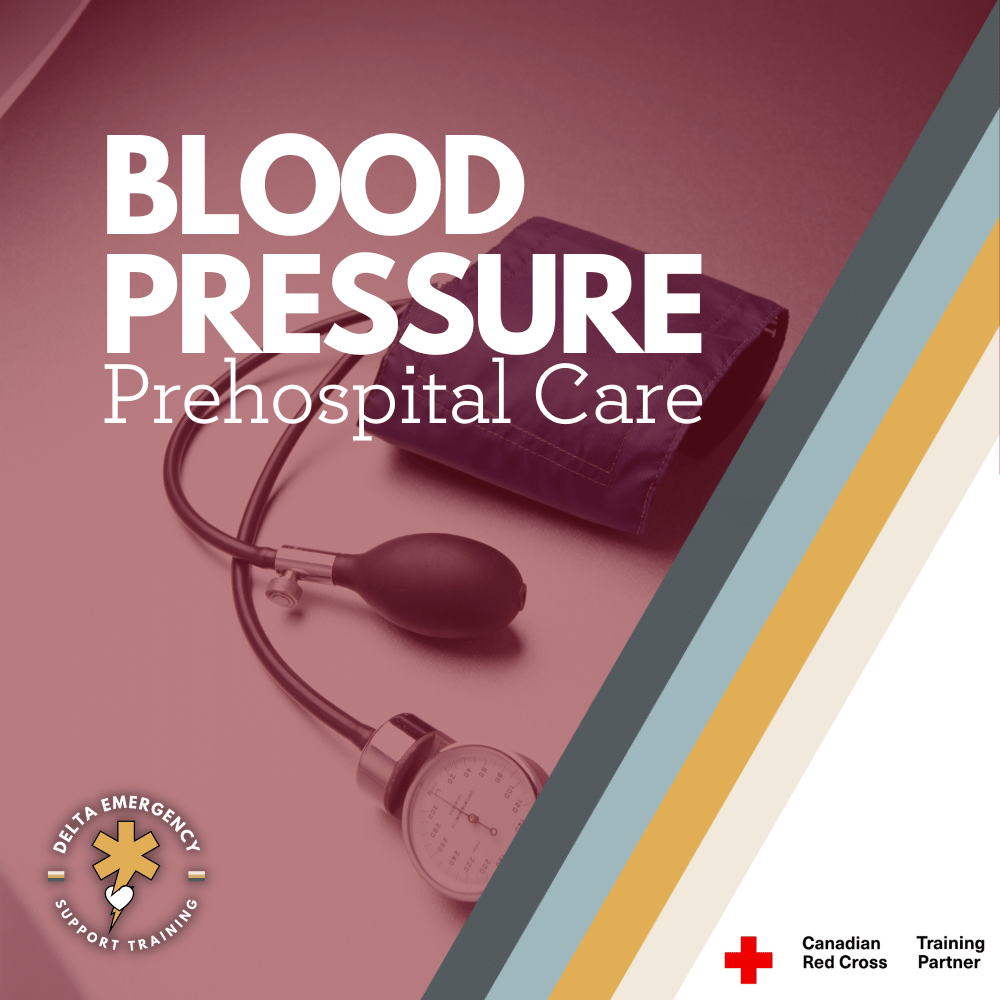
Understanding Blood Pressure: A Critical Guide for Advanced First Aiders & EMRs

Blood pressure isn’t just a number—it’s a key clue to what’s happening inside your patient’s body. Whether it’s shock, stroke, or dehydration, knowing how to take and interpret blood pressure can guide better decisions and faster interventions. This guide walks AFA and EMR students through practical skills, critical signs, and scene-ready tips to sharpen your response.

Blood pressure is one of the most foundational yet powerful tools we have in emergency medical response. For Advanced First Aiders (AFA) and Emergency Medical Responders (EMRs), knowing how to assess and interpret blood pressure can directly influence your patient care decisions and the urgency of interventions.

Whether you're the first responder at a vehicle collision or assisting someone feeling faint at a public event, blood pressure is a window into the circulatory system—and sometimes, the first clue that something critical is happening.

🧠 What Is Blood Pressure, Really?

Blood pressure (BP) measures the force of circulating blood against the artery walls. It reflects two key phases of the heart's cycle:

  • Systolic (top number): The pressure when the heart contracts and pumps blood out.

  • Diastolic (bottom number): The pressure when the heart relaxes and fills with blood.

📊 Standard Ranges (for Adults):

ClassificationSystolicDiastolicNormal90–120 mmHg60–80 mmHgElevated120–129 mmHg<80 mmHgHypertension Stage 1130–139 mmHg80–89 mmHgHypertension Stage 2≥140 mmHg≥90 mmHgHypotension<90 mmHg<60 mmHg

⚠️ Context is everything. A BP of 90/60 might be perfectly normal for one patient, but a sign of decompensated shock in another.

🔍 Why Blood Pressure Is Vital in Prehospital Care

As an AFA or EMR, you rely on vital signs to tell a story. Blood pressure, especially when taken alongside LOC, skin signs, RR, and pulse, can help you:

  • Detect early signs of shock or internal bleeding

  • Monitor for stroke or cardiac complications

  • Differentiate between syncope and seizure

  • Recognize toxic exposure or overdose

  • Identify heat exhaustion or dehydration

  • Understand trends during ongoing assessment

BP is especially important during ongoing monitoring, not just initial assessment.

🛠️ How to Take an Accurate BP (Manual Method)

While digital monitors are useful, manual BP skills are essential for field readiness and clinical accuracy.

✔️ Equipment:

  • Sphygmomanometer (BP cuff)

  • Stethoscope

🧾 Step-by-Step:

  1. Position the patient: Seated or supine with arm supported at heart level.

  2. Wrap the cuff snugly around the upper arm, 2–3 cm above the elbow crease.

  3. Locate the brachial artery and place the stethoscope over it.

  4. Inflate cuff until the pulse is no longer audible (~180–200 mmHg, or 30 above normal).

  5. Slowly deflate the cuff (~2 mmHg/sec).

  6. First sound = Systolic, last sound = Diastolic.

  7. Fully deflate and record the reading with time and side taken (e.g., L arm, 10:05 a.m.).

🔄 Reassess BP every 5 mins for unstable patients, and 10–15 mins for stable ones.

🧠 Interpretation in the Field: What Do Abnormal BPs Tell Us?

⬇️ Low BP (Hypotension)

May indicate:

  • Hemorrhagic or hypovolemic shock

  • Sepsis

  • Dehydration

  • Anaphylaxis

  • Overdose (narcotics, sedatives)

  • Heart failure

Clinical clues:

  • Cool, clammy, pale skin

  • Confusion or altered LOC

  • Weak, thready pulse

  • Increased RR

  • Cap refill >2 seconds

🛑 Action:

  • Lay patient supine

  • Keep warm

  • Provide oxygen (if trained)

  • Activate EMS

  • Monitor vitals and ABCs frequently

⬆️ High BP (Hypertension)

Could indicate:

  • Stroke

  • Head injury

  • Cardiac crisis (e.g., MI)

  • Pain or anxiety

  • Certain toxins or drugs

Clinical clues:

  • Headache

  • Blurred vision

  • Bounding pulse

  • Facial flushing

  • Unequal pupils or confusion

🛑 Action:

  • Keep patient calm and seated

  • Avoid sudden position changes

  • Support ABCs

  • Monitor for neuro signs

  • Rapid transport if stroke is suspected

🛑 Common BP Mistakes to Avoid

  • Cuff too small or too loose = falsely high reading

  • Arm unsupported or above/below heart level = inaccurate reading

  • Talking or moving during reading = unreliable results

  • Only taking one reading = no trend to compare

📎 Always pair BP with a full set of vitals: HR, RR, skin signs, LOC, SpO₂ (if available).

🧰 Practice Tips for AFA/EMR Students

  • Practice BP on real people during calm and active states

  • Use scenario-based learning (e.g., trauma, medical, overdose)

  • Compare manual and digital readings for training purposes

  • Note how BP trends with treatment and patient position

🌡️ BP in Specific Situations

🧓 Elderly:

  • May have higher baseline BPs due to reduced arterial elasticity

  • Monitor for postural hypotension

👶 Children:

  • Use appropriate cuff size

  • Hypotension is a late sign of shock

🤕 Trauma:

  • A falling BP with rising pulse = shock

  • Suspect internal bleeding or volume loss

🧠 Stroke:

  • BP may rise to preserve cerebral perfusion—don’t treat unless trained and authorized

✅ Final Takeaways for First Responders

  • Blood pressure is a critical diagnostic tool, not just a number.

  • Always take it in context with other vitals and the patient’s presentation.

  • Practice often, document clearly, and reassess regularly.

  • Know the red flags and escalate care early if something doesn’t feel right.

Want to sharpen your blood pressure skills?

Join our Advanced First Aid or EMR courses for hands-on practice, real-world scenarios, and guidance from experienced instructors.

Read More

Pulse Rates and How to Assess Them: Essential Skills for EMR and AFA Students

Understanding how to assess a patient's pulse is a fundamental skill for anyone pursuing EMR or AFA certification. In this blog, we cover everything you need to know about checking pulse rates, including normal ranges for adults, children, and infants, how to locate key pulse points, and how to accurately assess pulse rhythm and quality. Learn about tachycardia, bradycardia, and the significance of a weak or absent pulse, especially in trauma situations.

Understanding Pulse and Heart Rate: Key Concepts for EMRs and AFA Students

In emergency medical response (EMR) or advanced first aid (AFA), one of the essential skills you will learn is how to assess a patient's pulse or heart rate. A person's pulse provides valuable information about their circulatory status, and understanding how to measure it accurately is crucial for diagnosing and managing a variety of medical conditions.

This blog will guide you through the basics of pulse and heart rate, including normal rates for children, adults, and infants. We’ll also dive into how to accurately check a pulse, how to interpret its rhythm and quality, and the significance of an absent or weak pulse, especially in cases of trauma.

What is Pulse?

The pulse is the rhythmic expansion and contraction of an artery as blood is pumped through it by the heart. This beat is felt in various areas of the body known as pulse points. The pulse gives critical information about heart rate, rhythm, and strength.

Normal Pulse Rates by Age

It’s important to know the typical pulse rates for different age groups. The rate can vary based on the individual’s age, activity level, and overall health. Here’s a breakdown of normal resting pulse rates:

  • Infants (0-1 year): 100-160 beats per minute (bpm)

  • Children (1-10 years): 70-120 bpm

  • Adults (11+ years): 60-100 bpm

  • Well-conditioned Athletes: 40-60 bpm (can be normal for some athletes due to a lower resting heart rate)

As you become more familiar with pulse assessment during your EMR or AFA training, you’ll quickly learn how to identify what’s normal for your patient population.

Main Pulse Points and How to Check a Pulse Accurately

As an EMR or AFA student, knowing where to check for a pulse is a fundamental skill. You’ll need to be able to check for a pulse at several key points on the body. Here are the primary pulse points, along with instructions on how to check them accurately:

  1. Radial Pulse (Wrist)

    • Location: On the thumb side of the wrist.

    • How to Check: Place your index and middle fingers on the patient’s wrist, just below the base of the thumb. Apply gentle pressure until you feel the pulse.

    • Position: The patient should be seated or lying down in a relaxed position. It is important not to use your thumb, as it has its own pulse that could interfere with the assessment.

  2. Carotid Pulse (Neck)

    • Location: In the groove of the neck, just to the side of the windpipe.

    • How to Check: Place your index and middle fingers on the side of the patient’s neck, between the trachea and the muscle. Do not press too hard, as it can cause discomfort or interfere with blood flow.

    • Position: The patient can be seated or lying down. If the patient is unresponsive, the carotid pulse is typically the first point to check in an emergency.

  3. Brachial Pulse (Upper Arm)

    • Location: On the inner side of the upper arm, near the elbow.

    • How to Check: Place your index and middle fingers on the inside of the patient’s arm, midway between the shoulder and elbow. Apply gentle pressure to feel the pulse.

    • Position: This pulse is often used to assess infants, as it’s the most reliable pulse point in children under one year old.

  4. Femoral Pulse (Groin)

    • Location: In the crease of the groin, just below the inguinal ligament.

    • How to Check: Place your fingers on the upper thigh, near the groin. Apply firm but gentle pressure to detect the pulse.

    • Position: The patient should be lying down, preferably in a supine position. This pulse is often used in cases of severe trauma or shock.

  5. Posterior Tibial Pulse (Ankle)

    • Location: Behind the medial malleolus (the bony prominence on the inner side of the ankle).

    • How to Check: Place your fingers behind the ankle bone and press gently to feel the pulse.

    • Position: The patient should be lying or sitting with the foot relaxed.

  6. Dorsalis Pedis Pulse (Foot)

    • Location: On the top of the foot, between the first and second metatarsals.

    • How to Check: Place your fingers on the top of the foot, slightly to the medial side, and gently press to feel the pulse.

    • Position: The patient should be in a seated or supine position, with the foot relaxed.

How to Assess Pulse Rhythm and Quality

When assessing a pulse, it’s essential to evaluate not only the rate but also the rhythm and quality:

  • Rhythm: The rhythm of the pulse refers to the regularity of the heartbeat. It can be classified as:

    • Regular: The pulse follows a consistent, steady pattern.

    • Irregular: The pulse has an erratic or uneven rhythm, which could indicate an arrhythmia or other heart conditions.

  • Quality: The quality of the pulse refers to its strength. A pulse can be:

    • Strong and Bounding: A pulse that is easy to feel and forceful, which could indicate conditions such as fever, anxiety, or hyperthyroidism.

    • Weak or Thready: A pulse that is faint and difficult to feel, often indicating shock, blood loss, or dehydration.

    • Absent: If no pulse is felt at a pulse point, it may suggest severe trauma, a blocked artery, or cardiac arrest.

Tachycardia and Bradycardia

When evaluating pulse, you may encounter conditions such as tachycardia (a rapid heart rate) or bradycardia (a slow heart rate):

  • Tachycardia: A heart rate that exceeds 100 bpm in adults. Tachycardia can be caused by fever, stress, anemia, or cardiovascular problems.

  • Bradycardia: A heart rate below 60 bpm in adults. Bradycardia can indicate heart conduction issues, but it is also common in well-conditioned athletes.

Weak or Absent Pulse in Trauma

In trauma cases, an absent or weak pulse can be a critical sign. Trauma, especially internal bleeding or blocked arteries, can lead to a diminished pulse. If there is significant internal hemorrhaging, the pulse may become weaker in the lower extremities or other areas far from the heart. In cases of severe blood loss, the body shunts blood away from the extremities to maintain circulation to vital organs, resulting in weak or absent pulses in the arms or legs.

A blocked artery due to a clot, injury, or constriction can also result in an absent pulse distal to the blockage. Immediate intervention is needed in these cases to restore blood flow and stabilize the patient.

Conclusion

As an EMR or AFA student, learning to assess a patient’s pulse accurately is essential to providing effective care in emergency situations. Understanding the normal pulse rates, knowing how to check a pulse at key locations, and being able to interpret pulse rhythm and quality will greatly improve your ability to assess a patient’s condition. Additionally, recognizing the significance of weak, absent, or irregular pulses can help you identify life-threatening conditions like trauma, internal bleeding, or blocked arteries.

At Delta Emergency, we teach our students how to properly assess and respond to real-life emergencies. With expert instructors who are experienced paramedics, our courses ensure that you're prepared to make quick and informed decisions during critical situations.

Read More